Disclaimer: This post contains affiliate links.
Featured image by shekinah c. (@inahrri)
Lead climbing is a thrilling step up in a rock climber’s journey, offering new challenges and immense rewards. It pushes your skills, decision-making, and mental fortitude.
If you’re ready to move beyond top-roping and explore the sharp end of the rope, this guide will walk you through the essentials. We’ll cover what lead climbing is, how it differs from other disciplines, the preparation needed, and crucial safety practices.
What Is Lead Climbing?
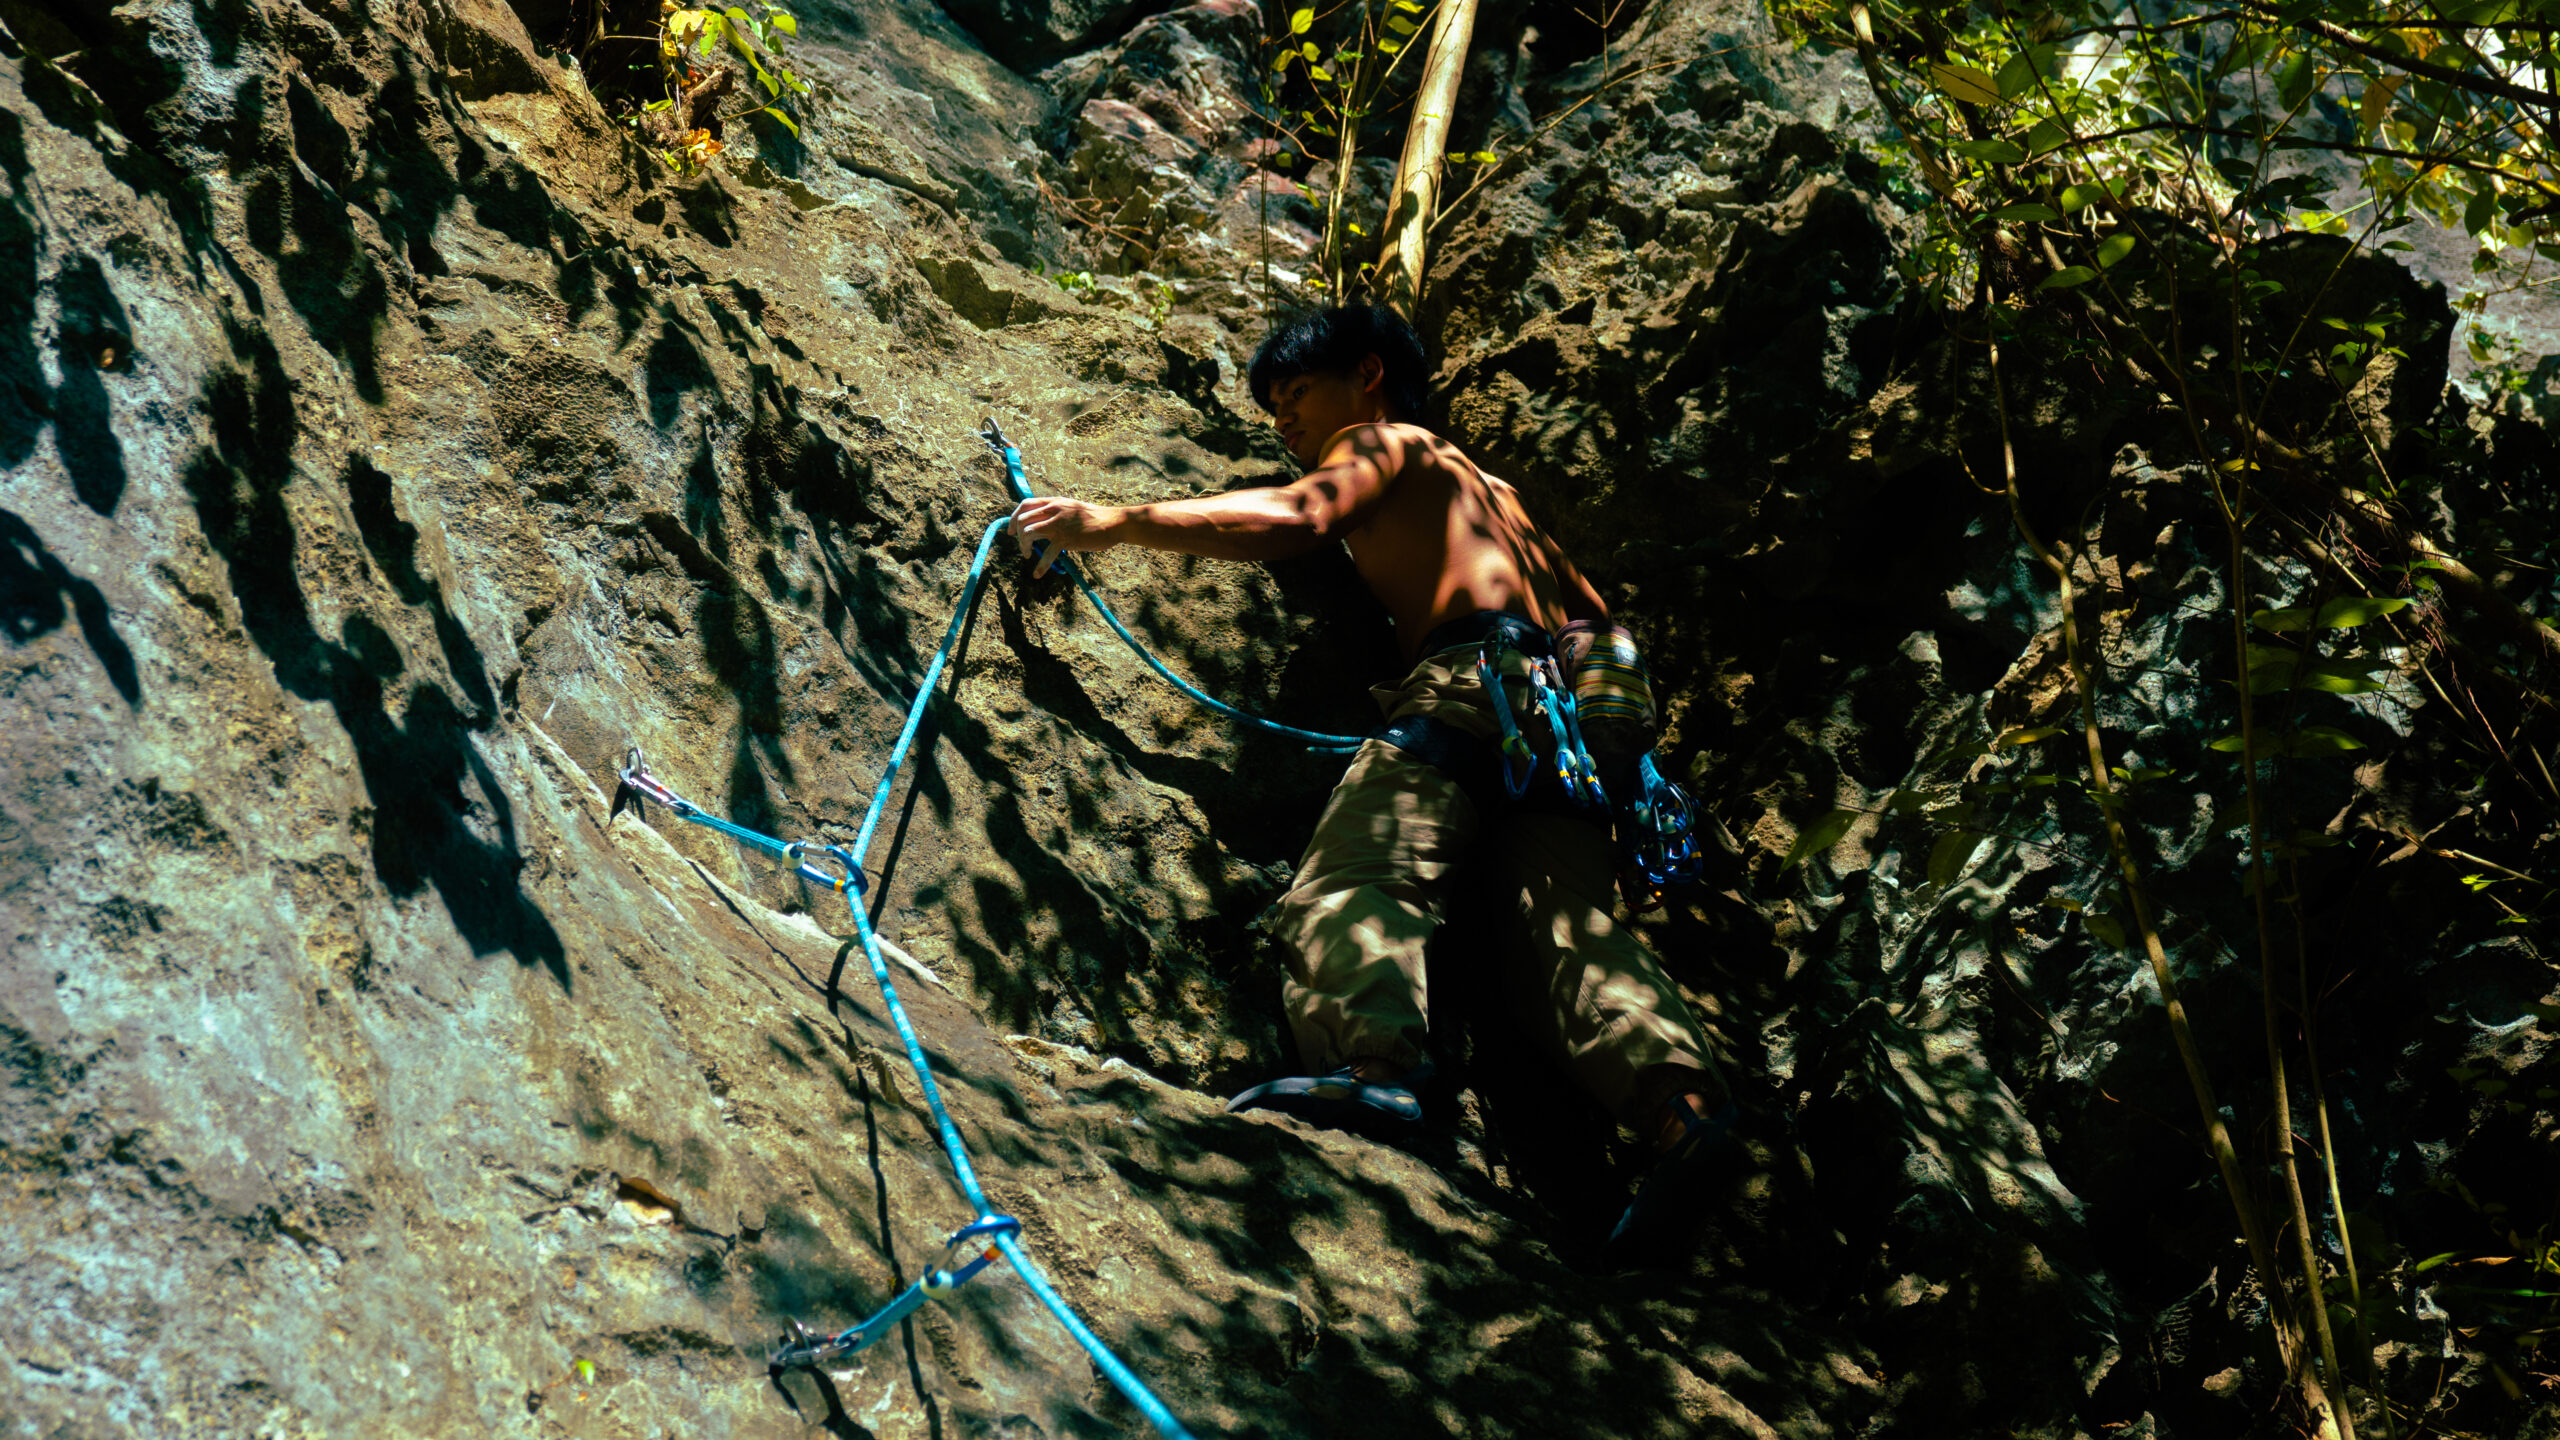
Lead climbing is a rock climbing style where the lead climber ascends a route, periodically clipping their climbing rope to pieces of protection.
This protection can be pre-placed bolts (common in sport climbing) or gear placed by the climber themselves (in trad climbing). Unlike top roping, where the rope is already anchored above, the lead climber places protection as they go. This requires greater skill, awareness, and mental focus.
Essentially, the lead climber clips their rope to climbing protection as they ascend. This process involves managing your rope position, clipping quickdraws efficiently, and understanding how to fall safely. These elements make lead climbing a more challenging yet deeply rewarding experience.
A key aspect of lead climbing is that the climber must ascend above their last piece of protection before clipping the next one. If a fall occurs, the distance fallen will be approximately twice the distance climbed above that last piece, plus any rope stretch and slack in the system. For example, every foot climbed above a piece of protection increases the potential fall distance by two feet, even before accounting for rope stretch. This emphasizes the critical importance of proper technique and safety protocols. Lead climbing techniques are fundamental whether you’re engaging in sport climbing on bolted routes, or the more gear-intensive trad climbing.
What Gear Do You Need for Lead Climbing?
To start lead climbing, you’ll need some specific gear in addition to your standard climbing shoes and chalk bag:

Stepping up to lead climbing means building your safety system beyond the basics of shoes and a chalk bag.
The foundation of this system is your dynamic rope, which is engineered to stretch and safely absorb the impact of a fall. Both the climber and belayer will need a comfortable, well-fitting harness. To control the rope, you’ll use a belay device, designed for leading, such as an assisted-braking (like the Petzl GriGri) or tube-style device (like the Black Diamond ATC-Pilot), which must be paired with a locking carabiner.
To connect your rope to the wall on a sport route, you’ll use quickdraws. Each quickdraw is made of two carabiners linked by a sturdy sewn sling. As you climb, you clip one carabiner to a bolt on the wall and your rope through the other. A standard rack for sport climbing includes about 10 to 15 quickdraws. A helmet is also non-negotiable. It protects you from falling debris and from head impacts during a fall, making it an essential piece of gear for every climb.
If you venture into traditional climbing, your kit expands significantly. Instead of clipping pre-placed bolts, you’ll carry and place your own protection. This requires a “rack” that includes gear like cams and nuts, along with various slings and extra carabiners for building anchors.
Lead Climbing vs. Other Climbing Disciplines
Lead climbing is just one way to enjoy moving over rock. Here’s how it compares to other common climbing disciplines:

The main difference in these climbing disciplines comes down to how you manage risk and use your rope.
The most common starting point is top roping. Here, the rope is already secured to an anchor at the top of the route. This setup keeps falls short and safe, making it the ideal way to learn movement and build confidence.
Once you’re ready for more commitment, you progress to lead climbing, where you carry the rope up the wall with you. There are two main styles of leading. In sport climbing, you clip your rope into permanent, pre-drilled bolts on the rock. In traditional, or “trad” climbing, you place your own removable gear, like cams and nuts, into natural rock features for protection. Both styles involve a higher potential for longer falls than top roping, as you can fall past your last piece of protection.
“Falling off a steep route while on lead often leaves the climber hanging in midair. Getting back to the rock typically requires the climber to attain the last bolt clipped, a difficult task with nothing but air to leverage.”
—Dan Hague, Co-Author of “The Self-Coached Climber”

Bouldering is a different discipline entirely. It involves climbing shorter, more powerful routes, known as “problems,” without a rope. Instead of a harness and rope, your only protection is a thick crash pad on the ground to cushion a fall. The focus is on explosive strength and complex technique rather than the endurance required for longer routes.
At the absolute extreme of the sport is free soloing. This is the act of climbing with no ropes, gear, or protection of any kind. The risk is ultimate, as any fall is fatal. It is a discipline reserved for a very small number of the world’s most experienced and mentally prepared climbers.
How to Get Into Lead Climbing

Transitioning to lead climbing requires dedicated preparation to build both technical skills and mental readiness. It’s not something to rush into.
Get lessons from a certified guide or instructor.
The first and most critical step in transitioning to lead climbing is to seek out formal education from qualified sources. While learning from friends can be helpful, professional courses offered by reputable climbing gyms, certified guides, or experienced mentors ensure you develop a solid foundation based on current best practices.
This formal instruction is crucial for building confidence in a controlled environment, where you can learn to avoid common and often dangerous mistakes. A good instructor will provide personalized feedback on your technical abilities, help you develop safe habits from the start, and ensure you understand the full scope of responsibility that comes with leading.
Practice clipping and belaying.
Before you tie in for your first lead, you must become proficient in the specific mechanical skills required. This goes beyond simply climbing. You need to master lead belaying, which involves giving out slack smoothly, managing the rope effectively, and providing a dynamic “soft” catch to absorb the force of a fall.
You must also practice clipping quickdraws efficiently to conserve energy, learning when to clip and how to avoid critical errors like back-clipping or Z-clipping. Furthermore, a deep understanding of rope management is key; this includes keeping the rope from getting behind your leg and knowing how the elastic properties of a dynamic rope contribute to the safety of the system during a fall.
Mock leading
The mock lead is an invaluable and highly recommended training tool that bridges the gap between top-roping and leading. This technique involves climbing a route while securely on a top-rope, but you also trail a second, separate rope. This second rope, sometimes called a “monkey tail,” is the one you practice with. As you ascend, you pull up slack and clip this rope into the quickdraws, exactly as you would on a real lead.
This method allows you to rehearse the physical movements of clipping bolts or placing gear, manage your rope, and get a feel for the workflow of leading, all with the complete safety of the top-rope backup. It’s the perfect way to build muscle memory and confidence without the objective risk of a leader fall.
“We all have moments of doubt in climbing, such as when we are pumped, when we are unsure of a sequence, or when we are afraid of a possible bad fall, a run out, a hard clip, or tricky gear placement.”
—Douglas Hunter, Co-Author of “The Self-Coached Climber”

Build your climbing endurance & strength.
Lead climbing places greater physical demands on a climber than top-roping. The process of stopping to clip, pulling up rope, and spending more time on the wall requires a specific type of power-endurance that must be deliberately trained.
To prepare, you must focus on building both your endurance and strength. Consistent climbing sessions are fundamental, but targeted training can accelerate your progress. This may include exercises like “4x4s” (climbing four routes four times with minimal rest), ARC training (climbing for extended periods at a low intensity), or simply linking routes together in the gym to simulate the sustained effort required on a longer lead climb.
Strengthen your mental game.
Beyond physical readiness, the transition to lead climbing is a significant mental challenge. A core part of your preparation must be learning to manage the natural fear of falling. This is best accomplished through progressive “fall practice” in a safe gym environment with an experienced belayer. By taking intentional, controlled, and short falls, you can learn to trust your gear, your belayer, and yourself, which dramatically improves confidence.
This mental training also involves developing your ability to assess and manage risk on the wall. This is the cognitive skill of identifying safe clipping stances, evaluating the consequences of a potential fall at any given point, and creating strategies for navigating challenging sequences when you feel tired or uncertain.
“Fear of falling can rob you of your potential. You can apply desensitization to overcome this fear by gradually adapting to the stresses of possible falls.”
—Douglas Hunter, Co-Author of “The Self-Coached Climber”
Belaying a Lead Climber

Belaying a lead climber is one of the most critical responsibilities in climbing, requiring active engagement, precise technique, and undivided attention. Unlike top-rope belaying, which is a relatively passive role, lead belaying is a dynamic partnership with the climber, where the belayer’s actions directly influence the climber’s safety and confidence on the wall.
How It Works
At its core, belaying a lead climber is a cycle of paying out slack, managing the rope, and being prepared to safely catch a fall. As the climber ascends, they are not being pulled up by a rope from above; instead, they are trailing the rope from their harness and clipping it into protection as they go.
The belayer’s primary job is to feed rope through their belay device smoothly and quickly, allowing the climber to pull up slack for a clip without being pulled off balance or “short-roped.” Simultaneously, the belayer must manage the amount of slack in the system – too little, and the climber can’t move freely; too much, and a fall becomes unnecessarily long and dangerous.
When a fall occurs, the belayer’s role is not just to lock the rope, but to provide a “dynamic catch.” This involves a small jump or step forward at the moment of impact, which introduces a tiny bit of upward movement in the system. This action cushions the fall, reducing the peak force on the climber, their gear, and the belayer, resulting in a much safer and softer landing against the wall.
How Is It Different From Top-Rope Belaying?

While the goal of keeping the climber safe is the same, the execution of lead belaying is fundamentally different from belaying a top-roper.
- Slack management: In top-roping, the default action is to constantly take in slack to keep the rope snug. In lead climbing, the default action is to pay out slack as the climber ascends, ensuring they have enough rope to progress and clip.
- Fall dynamics: Top-rope falls are minimal, with very little distance or force, as the climber is immediately weighted onto a tight rope. Lead falls are significantly longer and more dynamic. The climber falls past their last piece of protection, and the distance is amplified by the natural stretch of the rope.
- Soft catches: A top-rope belayer braces and stands firm to hold the climber. A lead belayer must be dynamic, moving with the fall to provide a soft catch. A rigid, static catch on lead can slam the climber hard into the wall, increasing the risk of injury.
- Risk and attention: The consequences of a mistake are much higher in lead belaying. The belayer must be constantly aware of the climber’s position relative to the ground (especially before the first few bolts are clipped), ledges, or other potential obstacles, requiring a higher level of vigilance and risk management.
Belay Devices for Lead Climbing
While many devices can be used, a few types are overwhelmingly popular for their features and reliability in a lead climbing context.
Types of Belay Devices
| Feature | Assisted Braking Device (ABD) | Tubular Device | Assisted Braking Tubular |
| Braking | Mechanical Cam-Assist | Friction Only | Geometry-Assist |
| Rope Feed | Can be grabby; requires technique | Smoothest feel | Can lock up unexpectedly |
| Profile | Heaviest; Less versatile | Lightest; Very versatile | Lightweight; Versatile |
| Best For | Gym & Sport Climbing | Trad & All-Around Use | Trad, Alpine & Multi-Pitch |
Assisted Braking Devices (ABDs)

These devices are the most popular choice for sport climbing and gym use due to their signature safety feature. They contain an internal, mechanical camming mechanism that assists in braking by automatically pinching the rope during a sudden load, such as a leader fall. This action provides a significant, added margin of safety for the belayer.
It is critical to understand, however, that this feature does not make the device “hands-free.” The belayer must always maintain complete control of the brake strand of the rope, as proper technique is essential for the device to function correctly and safely.
Well-known examples of this type include:
- Petzl GriGri
- Petzl GriGri+
Tubular or “ATC-Style” Devices

These simple, lightweight tubes are incredibly versatile and are considered a staple for both trad and sport climbers. Their straightforward design provides a very smooth and responsive feel, allowing the belayer to fluidly pay out slack or take in rope.
Unlike ABDs, these devices have no moving parts or assisted braking mechanisms; they operate entirely on the friction created by the rope moving through the device and the belayer’s firm grip on the brake strand. Many modern versions also include an extra metal loop for a “guide mode,” which allows the device to be used to belay one or two following climbers directly from an anchor.
Popular models in this category include:
- Black Diamond ATC Guide
- Petzl Reverso
Assisted Braking Tubular Devices

Offering a hybrid approach, these devices combine the light weight and simplicity of a traditional tube device with an innovative, geometry-based braking assist. They are designed so that, under load, the carabiner is guided into a position that “pinches” or sharply angles the rope, creating significantly more friction to help stop a fall.
This design is popular with climbers who want some braking assistance without the weight and mechanical complexity of a standard ABD. This makes them a favorite for multi-pitch, trad, and alpine climbing where weight and versatility are top priorities.
Common examples in this hybrid category are:
- Edelrid Mega Jul / Giga Jul
- Mammut Smart 2.0
How to Safely Belay a Lead Climber

A lead climber is only ever as safe as their belayer. As the person on the ground, your role is not passive; it’s an active job that demands your full attention. Your primary responsibility is to manage the rope perfectly, giving out slack when the climber needs it to move and taking it in to keep the system tight. You must anticipate their moves and be ready to provide a safe, effective catch the moment they fall.
But this responsibility for safety is shared. Both the climber and the belayer must have a complete mastery of their equipment. This is non-negotiable. You need to know exactly how your belay device works, how to handle carabiners, and how to inspect your gear for wear and tear before every climb. Proficiency with your tools is the foundation of a safe partnership.
You must also understand the physics of a fall. When a climber falls above their last piece of protection, the fall will be longer than you might think due to rope stretch and any slack in the system. Your job is to give a “soft” or dynamic catch. This means using a small, controlled movement to absorb the energy of the fall, preventing a jarring stop that could slam the climber into the wall. A hard, static catch is a dangerous mistake.
Finally, you must be able to spot and avoid common but critical clipping mistakes, such as:
- Z-clipping, where the rope is pulled up from below the last clipped quickdraw, creates dangerous rope drag and adds significant length to a potential fall.
- Back clipping, where the rope runs incorrectly through the carabiner, can cause the gate to open and the rope to unclip itself during a fall.
Knowing how to prevent these errors isn’t optional; it comes from focused practice and a commitment to safe technique.
Ready to Elevate Your Climbing?
Lead climbing opens up a vast world of new routes and adventures. While it demands more skill, preparation, and mental focus than top-roping, the rewards are well worth the effort. Start with solid instruction, practice diligently, and always prioritize safety.
To further hone your climbing movements and build the strength needed for lead climbing, consider incorporating wall-specific training into your routine. Check out how a spray wall can help you get better at lead climbing: Learn more about Spray Wall Climbing
Frequently Asked Questions
What exactly is lead climbing?
Lead climbing is a rock climbing style where the climber ascends a route, clipping their rope to pieces of protection like pre-placed bolts or gear they place themselves. Unlike top roping where the rope is already anchored above, the lead climber places protection as they go, requiring more skill.
How is lead climbing different from top roping?
In lead climbing, the climber clips the rope to protection as they ascend, meaning potential falls can be longer. With top roping, the rope is already secured through an anchor at the top of the route, so falls are generally very short and less impactful.
What basic gear do I need to start lead climbing?
To start lead climbing, you’ll need a dynamic climbing rope, a comfortable harness, an appropriate belay device with a locking carabiner, and about 10-15 quickdraws. A helmet is also essential for protecting your head.
How should I train for lead climbing?
You should seek instruction from qualified guides or experienced climbers and practice core skills like clipping quickdraws and lead belaying. Building physical endurance, mastering mock leads, and learning to manage the fear of falling are also crucial preparation steps.
What is the belayer’s role in lead climbing?
In lead climbing, the belayer plays a critical safety role by carefully managing slack in the rope and anticipating the climber’s needs. They must be prepared to provide a safe and effective catch if the climber falls.
What are some common mistakes new lead climbers make?
Common mistakes include z-clipping, where the rope path through quickdraws is incorrect, and back clipping, where the rope is clipped into the carabiner incorrectly. Failing to clip available protection is another serious error that increases fall potential.
What is mock leading and why is it useful?
Mock leading is a training technique where you climb on toprope for security while trailing a second rope that you practice clipping into quickdraws as if you were truly leading. It allows you to practice clipping, gear placement, and rope management without the risk of a real leader fall.