
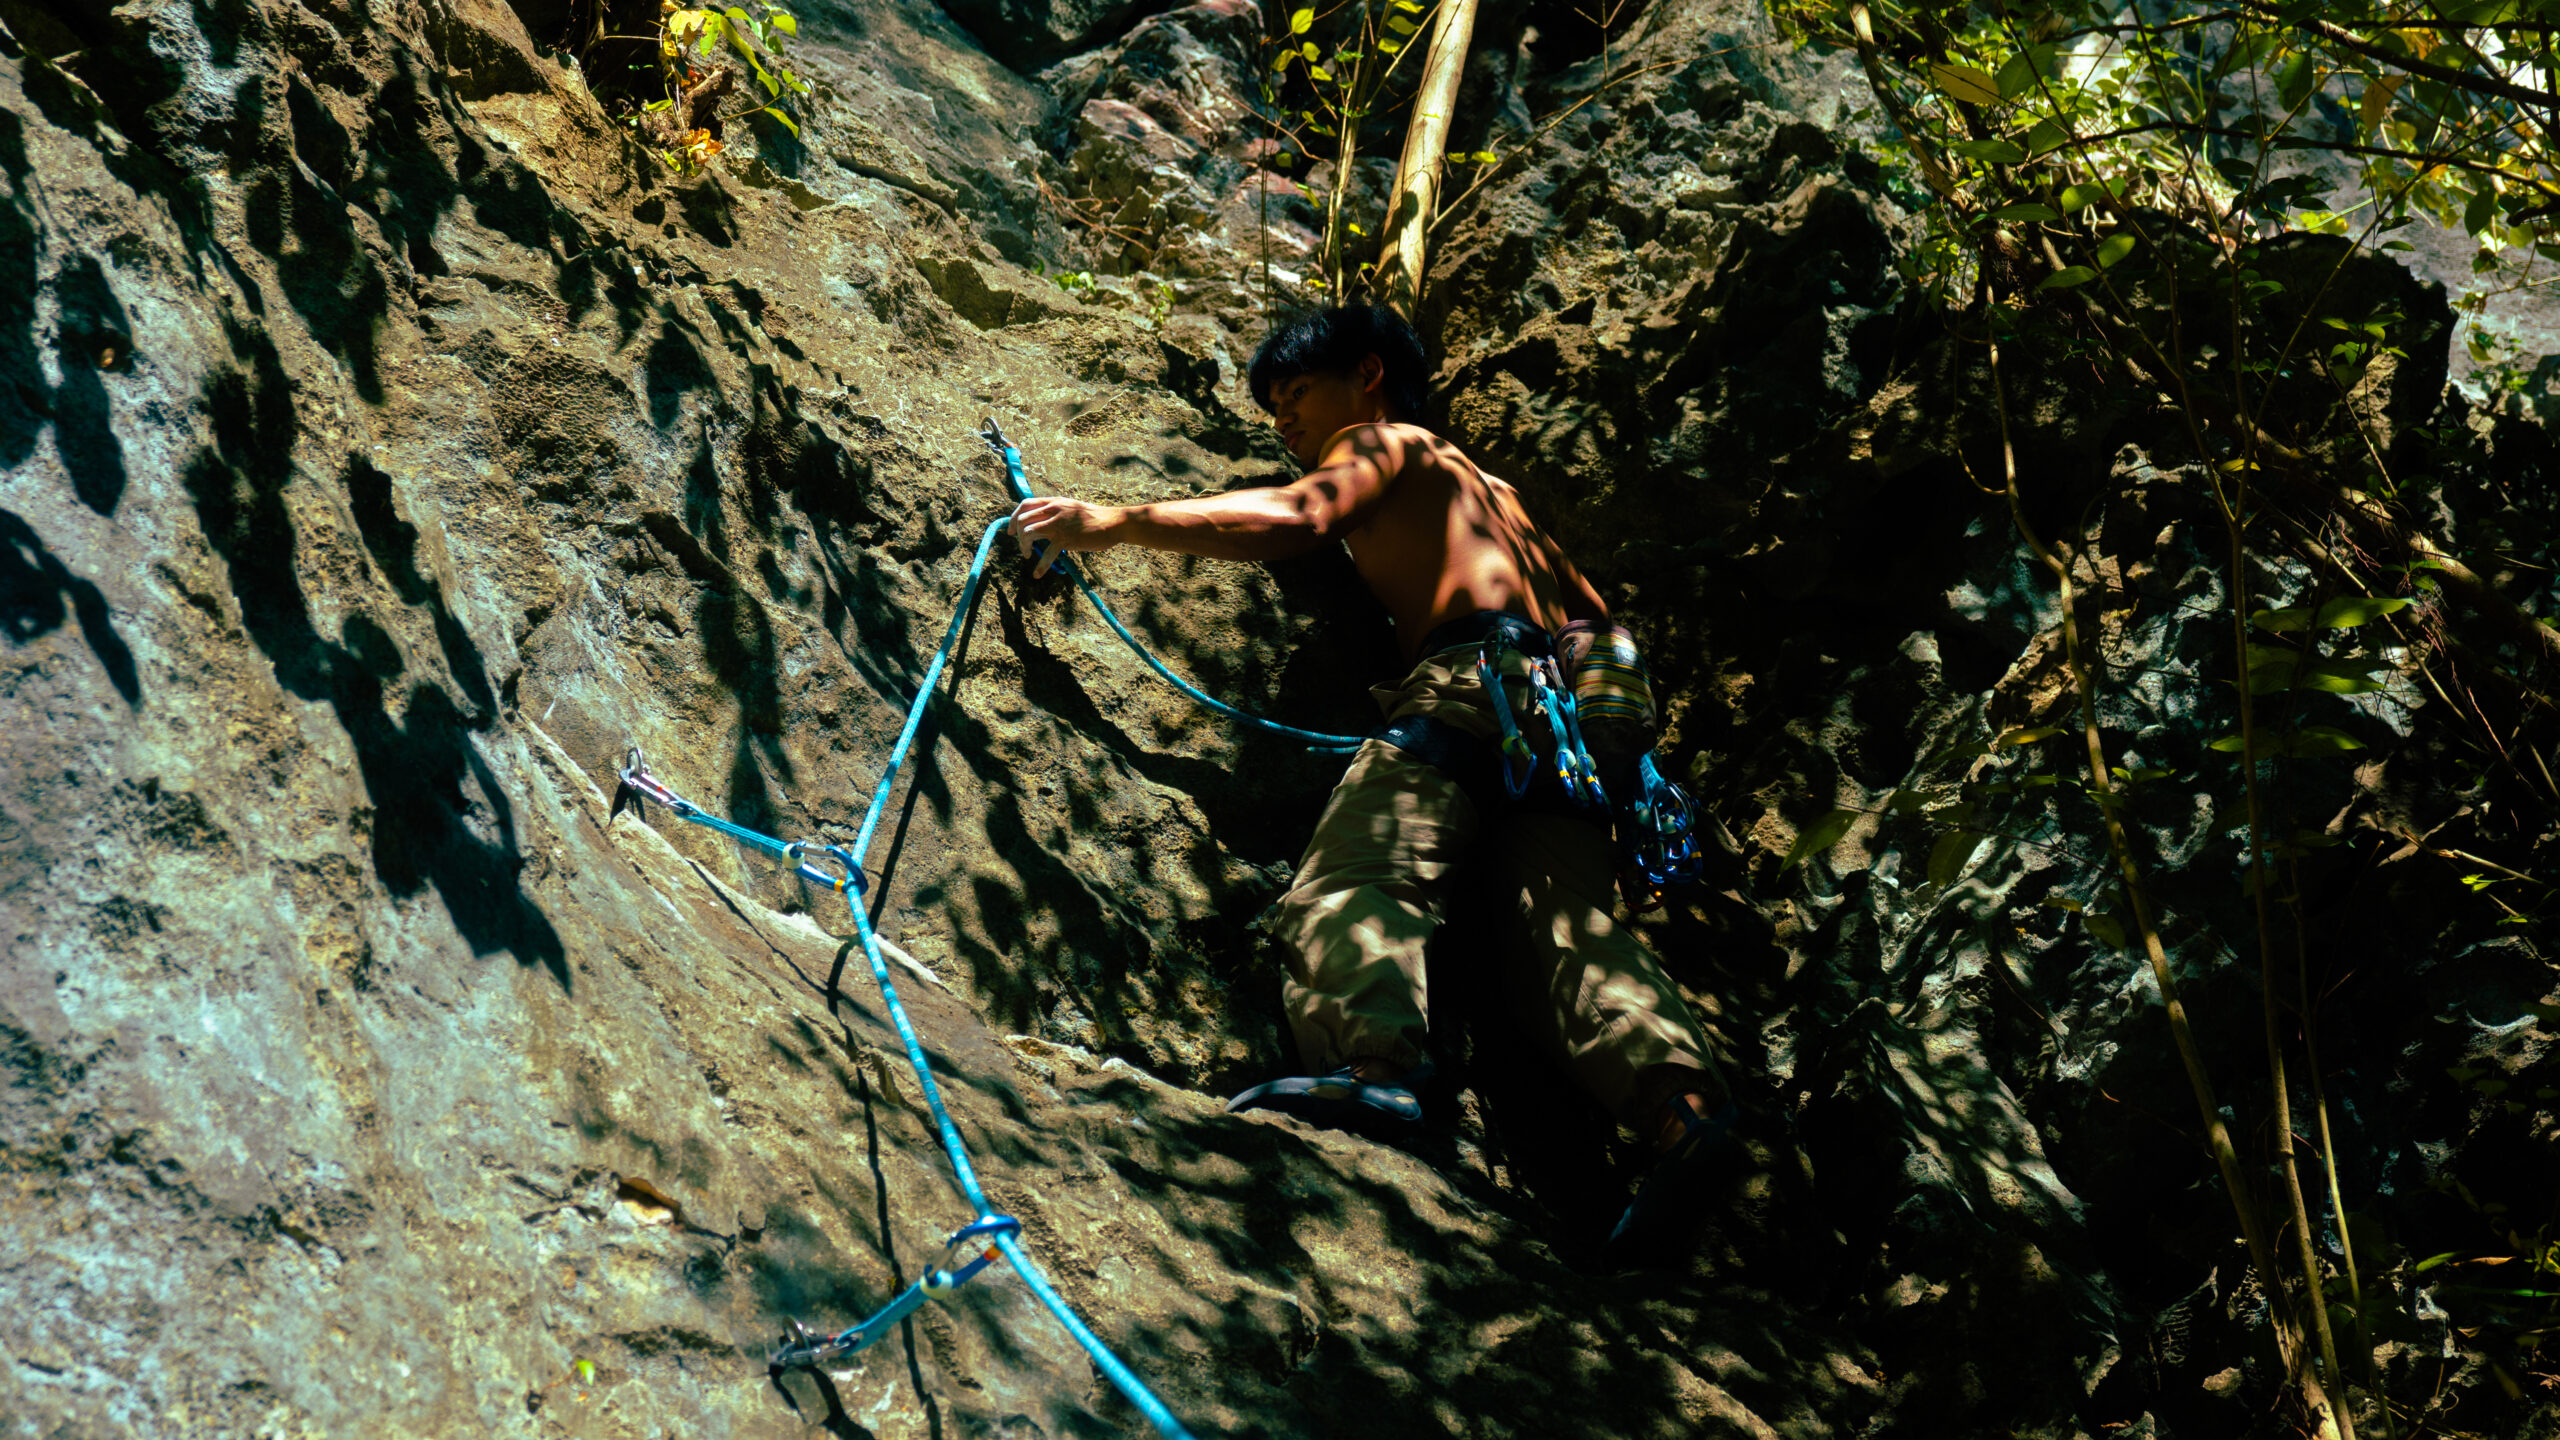

Featured image: Shekinah C. (@inahrri).
Lead climbing means taking the rope up with you and clipping protection as you climb. Here’s what changes from top rope, what gear is involved, and how to learn the skills under supervision.
Key takeaways
- On lead, the climber clips the rope to protection while moving upward. On top rope, the rope already runs through an anchor above.
- Lead climbing adds rope management, clipping, fall assessment, and a more active belay partnership to the movement skills you already use.
- Learn through a gym course or qualified instructor, then build from mock leads to supervised lead climbing and suitable fall practice.
What lead climbing means
In top-rope climbing, the rope runs from the climber to an anchor above, then back down to the belayer. In lead climbing, the climber starts with the rope tied to their harness and clips it to protection as they move up the route.
On a sport route, that protection is usually a line of fixed bolts. The climber attaches a quickdraw to each bolt, then clips the rope into the quickdraw. In traditional climbing, often shortened to trad, the leader places removable protection such as cams and nuts. Trad adds placement, route-finding, and anchor skills, so this guide focuses on introductory sport lead climbing.
A leader climbs above the most recent clip before reaching the next one. That changes the consequences of a fall. Fall distance and impact depend on several connected factors, including rope stretch, slack, the positions of the climber and belayer, the route angle, and nearby ledges or the ground.
If you want a closer side-by-side breakdown, read lead climbing vs. top rope.
Lead climbing compared with top rope
Both styles use a rope, harness, belay device, and attentive partner. The rope path changes what each person has to manage.
| Part of the system | Top rope | Lead climbing |
|---|---|---|
| Rope setup | The rope already passes through an anchor above the climber. | The climber carries the rope upward and clips protection along the route. |
| Belayer’s work | Takes in rope as the climber moves and remains ready to arrest a fall. | Pays out and takes in rope as needed, avoids short-roping, manages slack, and remains ready to arrest a fall. |
| Falls | Usually short because the rope comes from above, though hazards can still exist. | Can be longer because the climber may be above the last clip. Terrain, slack, rope stretch, and both partners’ positions affect the outcome. |
Top-rope belaying is still an active safety job. Lead belaying adds faster changes in rope handling, especially when the climber pulls up rope to clip. Neither role is a place for distraction.
Lead climbing can also make familiar moves feel harder. You pause to clip, manage the rope around your legs, and make decisions while tired. Efficient footwork and stable clipping positions help, which makes a solid base in climbing technique useful before you start a lead course.

The equipment in a sport lead system
Your instructor or gym should help you check compatibility among the rope, belay device, carabiner, harness, and route. Follow each manufacturer’s current instructions and the rules at the place where you climb.
Dynamic climbing rope
Stretches under load as part of the fall-arrest system.
Correct type, diameter, and length for the device and route.
Harness
Connects the climber and belayer to the rope system.
Fit, condition, and correct tie-in or attachment points. See our climbing harness guide.
Climbing shoes
Provide the contact and support you need to move with control.
A secure fit you can climb in without distracting pain. Our beginner climbing shoe guide explains the options.
Belay device and locking carabiner
Controls the rope during climbing, lowering, and a fall.
Device category, rope compatibility, orientation, and the exact technique specified by the maker.
Quickdraws
Connect the rope to bolts on a sport route.
Enough for that specific route, plus any setup your venue requires. Learn more in our quickdraw guide.
Helmet
Helps protect the head from certain falling objects and impacts.
Fit, condition, and suitability for the climbing environment.
Belay devices use different braking mechanisms and handling methods. Every category still requires a brake hand on the brake strand, compatible rope and carabiner choices, and practice with that specific device.
The number of quickdraws comes from the route and anchor setup, rather than a universal starter number. Check the route information, ask local staff or a qualified guide, and carry the equipment required for that climb.
A practical path from top rope to lead
Build steady movement first
Climb routes comfortably below your limit, where you can pause, communicate, and make deliberate decisions. You don’t need a particular grade, but you do need enough control to learn rope skills without fighting every move.
Take a lead course
Learn from a qualified instructor or a reputable climbing gym. The course should cover partner checks, clipping, rope position, communication, belay technique, lowering, and common errors using the equipment you will actually use.
Rehearse on a mock lead
Under supervision, a mock lead can let you practice clipping a separate rope while protected by a top-rope system. The exact setup needs competent oversight because two ropes and two systems can create their own management errors.
Start on familiar, suitable routes
Choose routes recommended by your instructor or gym. Begin where the clips, terrain, and landing zone match your current ability, and have a qualified person supervise both climber and belayer.
Complete the venue’s competency check
Many gyms assess lead climbers and belayers before allowing independent use. Treat the check as a minimum standard for that venue, then keep practicing with attentive partners.
Practice falls only when appropriate
Intentional fall practice should be progressive, supervised, and specific to the venue, route, equipment, and people involved. Some positions and routes are unsuitable, so there is no universal fall drill.
Strength and endurance help, yet most new leaders gain more from calm movement and clean decisions than from a complicated training plan. Climbing regularly, resting before technique breaks down, and learning to clip from balanced positions are useful starting points. A spray wall can support movement practice once you have a clear reason to use it.
Mistakes to recognize before you lead
These definitions can help you follow a lesson. They can’t replace seeing the errors, correcting them, and demonstrating the right response with an instructor.
Back-clipping
The rope passes through the rope-side carabiner in the wrong direction. In some falls, that orientation can contribute to the rope unclipping. Learn the correct rope path and how to recognize the error from a qualified instructor.
Z-clipping
The climber pulls rope from below the previous quickdraw and clips it into the next one, creating a Z-shaped rope path. This can restrict movement and leave the intended section of rope unclipped.
Rope behind the leg
If the rope runs behind a leg when the climber falls, it can contribute to the climber flipping. Keep checking the rope path as your feet and body change position.
Poor slack management
Too little slack can pull a climber off balance or prevent a clip. Too much can add fall distance. Good belaying adjusts continuously to the climber, route, and hazards.
Missed partner checks
Both partners should inspect the system before every climb using the procedure taught by their gym, guide, and equipment manufacturers. Familiar routines still deserve full attention.
Lead belaying is a moving partnership
A lead belayer alternates between paying out rope, taking it in, and holding the brake strand in the correct position. Timing matters because the climber may need rope quickly for a clip, then need excess slack removed soon afterward. The belayer also watches the climber’s position relative to the ground, ledges, and other hazards.
An assisted-braking device doesn’t make the system hands-free. The belayer must maintain control of the brake strand and use the handling method in the manufacturer’s instructions. Climber and belayer should agree on calls before leaving the ground, then communicate clearly when anything changes.
A softer catch may be desirable in some situations, but the right response depends on the weight difference between partners, terrain, ground proximity, rope in the system, and other factors. Belayer movement has to suit the situation, which is why catch technique belongs in supervised instruction.
Readiness is a set of skills, not a grade

You may be ready to begin learning when you can tie in and perform partner checks consistently, belay top rope attentively, communicate clearly, and climb with enough control to focus on new tasks. Your instructor should still assess your technique, judgment, and equipment handling before you lead independently.
Fear also deserves room in the process. You don’t have to eliminate it before leading, and you shouldn’t use surprise falls or peer pressure as training. Gradual practice can help when a qualified instructor decides the setting and progression are suitable.
The useful next goal is competence with your partner and equipment, followed by experience on appropriate routes. Ask for feedback early. Small rope-handling habits are easier to correct before they become automatic.
Lead climbing FAQ
Does a gym lead qualification transfer to outdoor climbing?
A gym assessment covers that venue’s requirements. Outdoor sport climbing adds route finding, changing terrain, environmental hazards, local practices, and anchor considerations. Get outdoor instruction before treating a gym qualification as preparation for the crag.
Do I need to buy gear before my first lead lesson?
Ask the course provider what is supplied and what you must bring. Using their equipment can give you time to understand fit, compatibility, and handling before buying your own.
Can I lead climb alone?
Standard lead climbing requires a trained belayer who manages the rope and catches falls. Solo climbing uses specialized systems with severe consequences for mistakes and sits outside this beginner guide.
Do I need aggressive shoes for lead climbing?
Most beginners benefit from shoes that feel secure and let them climb with control for a full session. Shape and fit matter more than an aggressive profile. Start with our beginner climbing shoe guide.
Choose your next step
Book a lead course or gym assessment, then use our quickdraw guide to review the equipment vocabulary before your session.